Look, I’ll be honest with you – I used to be the guy who’d just pop a leftover sandwich in the microwave for 30 seconds and call it good. Then my 8-year-old daughter took one bite of my “reheated” Chick-fil-A and gave me that look. You know the one. The same look my wife gives me when I try to convince her that wearing the same jeans three days in a row is “efficient.” That’s when I knew I had to up my game.
After some trial and error (and a few rubbery chicken disasters that even our golden retriever wouldn’t touch), I’ve figured out the different methods for bringing those leftover Chick-fil-A sandwiches back to life. These same techniques work great for leftover French fries and chicken nuggets, too. Trust me, your kids will stop giving you the stink eye, and you might actually enjoy your next day’s lunch instead of just tolerating it.
What You'll Need (AKA: Raid Your Kitchen)
- 1 Chick-fil-A sandwich (stored properly in an airtight container – learned that one the hard way)
- Oven, toaster oven, air fryer, or microwave (whatever you’ve got)
- Aluminum foil (the real MVP here)
- Baking sheet (for oven method)
- Microwave-safe plate (for the desperate times)
- Optional: 1 teaspoon of butter (because everything’s better with butter, right?)
- Optional: Skillet (for the stovetop method)
- Optional: Damp paper towel (for microwave method)
- Extra sandwiches can be stored the same way for later reheating
My Step-by-Step Guide (Learned Through Many Failures)

#1 Start at Room Temperature: Here’s something I wish someone had told me earlier – let that sandwich sit at room temperature for about 10 minutes before you start the reheating process. I used to go straight from fridge to heat, which is like trying to warm up a frozen baseball mitt. This easy way helps everything heat evenly. My 5-year-old son actually taught me this one when he refused to eat his “cold-in-the-middle” sandwich. Kids, man – they’re brutal critics.
#2 Preheat Your Equipment: If you’re using an oven or toaster oven, crank it up to 375°F. Yeah, I know it takes a few minutes, but trust me on this. I used to skip this step because I’m impatient (shocking, I know), but preheating is crucial for the best results. Think of it like letting your car warm up on a cold Indiana morning.
#3 Surgery Time: Remove any cold toppings like lettuce, tomato, or pickles. They don’t play nice in the reheating process. I learned this after creating what my wife lovingly called “wilted lettuce soup” on a perfectly good bun. Save those fresh toppings for after – they’ll thank you later.
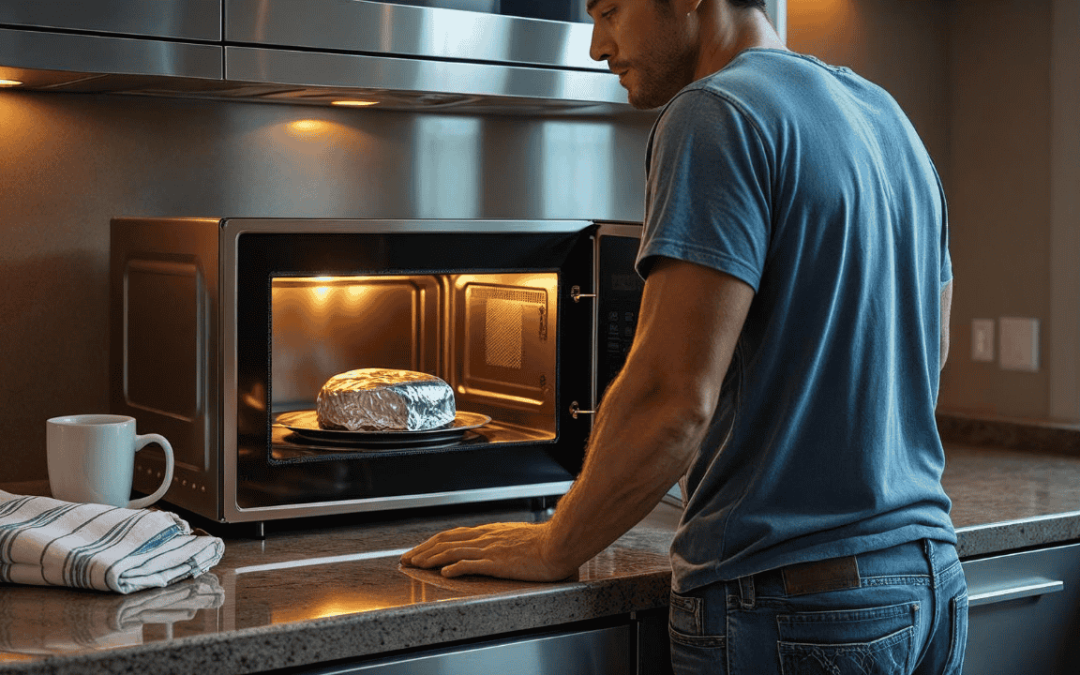
#4 Wrap It Like a Present: Aluminum foil is your friend here. Wrap that sandwich up nice and snug. This keeps the moisture in and prevents your chicken from turning into jerky. I’ve made that mistake more times than I care to admit, usually when I’m trying to reheat lunch while simultaneously helping with homework and wondering why I can’t find my coffee mug.
#5 The Oven Method (The Best Way): Place your wrapped sandwich on a baking sheet and slide it into that preheated oven. Give it 10-15 minutes, depending on your cooking time preference. The hot air circulation does something magical – it’s like the sandwich gets a second chance at life. This is hands down one of the best methods to get back that delicious taste and crispy texture you remember from the restaurant, plus you’ll get that perfect toasty bun.
#6 Butter Makes Everything Better: Want to feel fancy? Melt a teaspoon of butter and brush it on the bun before wrapping. It’s like giving your sandwich a spa day. My kids think I’m some kind of culinary genius when I do this. Little do they know I’m just following the same principle I use with everything: when in doubt, add butter.
#7 The Air Fryer Method (The Game Changer): If you’ve got an air fryer (and let’s be honest, who doesn’t these days?), this might just become your new favorite method. Preheat that bad boy to 350°F for about 3 minutes – don’t go with high heat or you’ll burn the outside before the inside warms up. Remove any cold toppings first, then place the sandwich directly in the air fryer basket – no foil needed here. Give it 3-4 minutes, flip it carefully with tongs (learn from my mistakes, don’t use your bare hands), and give it another 2-3 minutes. The air fryer brings back that crispy texture better than anything else, and you’ll get a perfectly toasty bun. My wife was so impressed the first time I did this, she actually complimented my “cooking.” I didn’t have the heart to tell her I just pressed a button and waited.
#8 The Stovetop Method (For the Adventurous): Heat up a skillet over medium heat – not too hot, we’re not trying to set off the smoke alarm again. Place the sandwich (no foil this time) in the skillet and cover with a lid. Two to three minutes per side should do it. This stovetop method gives you more control, plus you get to feel like a real chef instead of just a dad who’s trying to make yesterday’s dinner edible.
#9 The Microwave Method (When Life Happens): Look, sometimes you’re rushing between soccer practice and piano lessons, and you need that sandwich heated NOW. I get it. Put it on a microwave-safe plate, place a damp paper towel over it to keep moisture in, hit medium power (not high heat – learned that lesson the hard way), and give it 30-45 seconds. The cooking time is quick, but it’s not going to give you that crispy texture. It’s not the best way, but it’ll get the job done when you’re in dad survival mode.
#10 The Temperature Check: After whichever method you chose, unwrap and check if it’s heated through. Pro tip: if you can touch the center without saying “ow,” it probably needs more time. Don’t be like me and serve a lukewarm sandwich to your family. They remember these things.
#11 Reassemble and Enjoy: Put those fresh toppings back on, take a bite, and hopefully avoid the disappointed dad look from your kids. Mission accomplished.
Dad Wisdom (AKA: Things I Wish I'd Known Sooner)
Don’t Rush the Process: I used to nuke everything on high power because I thought faster was better. Wrong. Slow and steady wins the race, just like when I’m trying to explain why we can’t have ice cream for breakfast. The best results come from patience, which is ironic since patience isn’t exactly my strong suit.
Keep It Covered: Whether you’re using the microwave or oven, cover that sandwich. It’s like tucking your kids into bed – it keeps everything warm and cozy. A microwave-safe plate or lid works great for trapping steam.
Every Kitchen is Different: My toaster oven runs hot, my buddy’s runs cold, my neighbor’s microwave could probably launch a satellite, and my air fryer seems to have a mind of its own some days. Feel free to adjust times based on your equipment’s personality. It’s like getting to know a new coworker – takes a little time to figure out their quirks.
Storage Matters: Keep those leftover sandwiches in an airtight container in the fridge. I used to just wrap them in whatever was handy (usually a paper towel), but proper storage makes all the difference for next-day quality.
Food Safety First: Use a meat thermometer if you’ve got one. That chicken should hit 165°F before you serve it. I know it seems overkill, but I’d rather be the dad who’s too careful than the dad who gives everyone food poisoning. Trust me, that’s not a learning experience you want.
Get Creative: Once you’ve mastered the basics, feel free to jazz things up. Fresh toppings, different sauces, maybe even a slice of cheese – whatever makes your family happy. My kids love when I let them “customize” their reheated sandwiches. Makes them feel like they’re at a restaurant instead of eating dad’s leftovers.
The bottom line? These best methods will turn your sad, cold sandwich into something your family will actually want to eat. It’s taken me way too many rubbery chicken experiments to figure this out, but hey, that’s what being a dad is all about – learning as you go and hopefully not poisoning anyone in the process.
Now go forth and reheat with confidence. Your delicious taste buds (and your kids’ approval ratings) will thank you. And remember, we’re all just winging it out here – some of us are just better at wrapping our mistakes in aluminum foil.